


Are you a professional or amateur photographer looking for a lucrative niche? If you have an eye for photographing large-scale subjects in natural lighting, real estate photography might be right for you. This line of work requires a flair for capturing architectural and interior details in both commercial and residential properties.
However, you don’t need any specific training to get started.
If you’re interested in becoming a real estate photographer, take the following steps:
- Purchase the right camera and accessories
- Get familiar with editing software
- Build a portfolio (with photography laws in mind)
- Take out insurance to protect your business
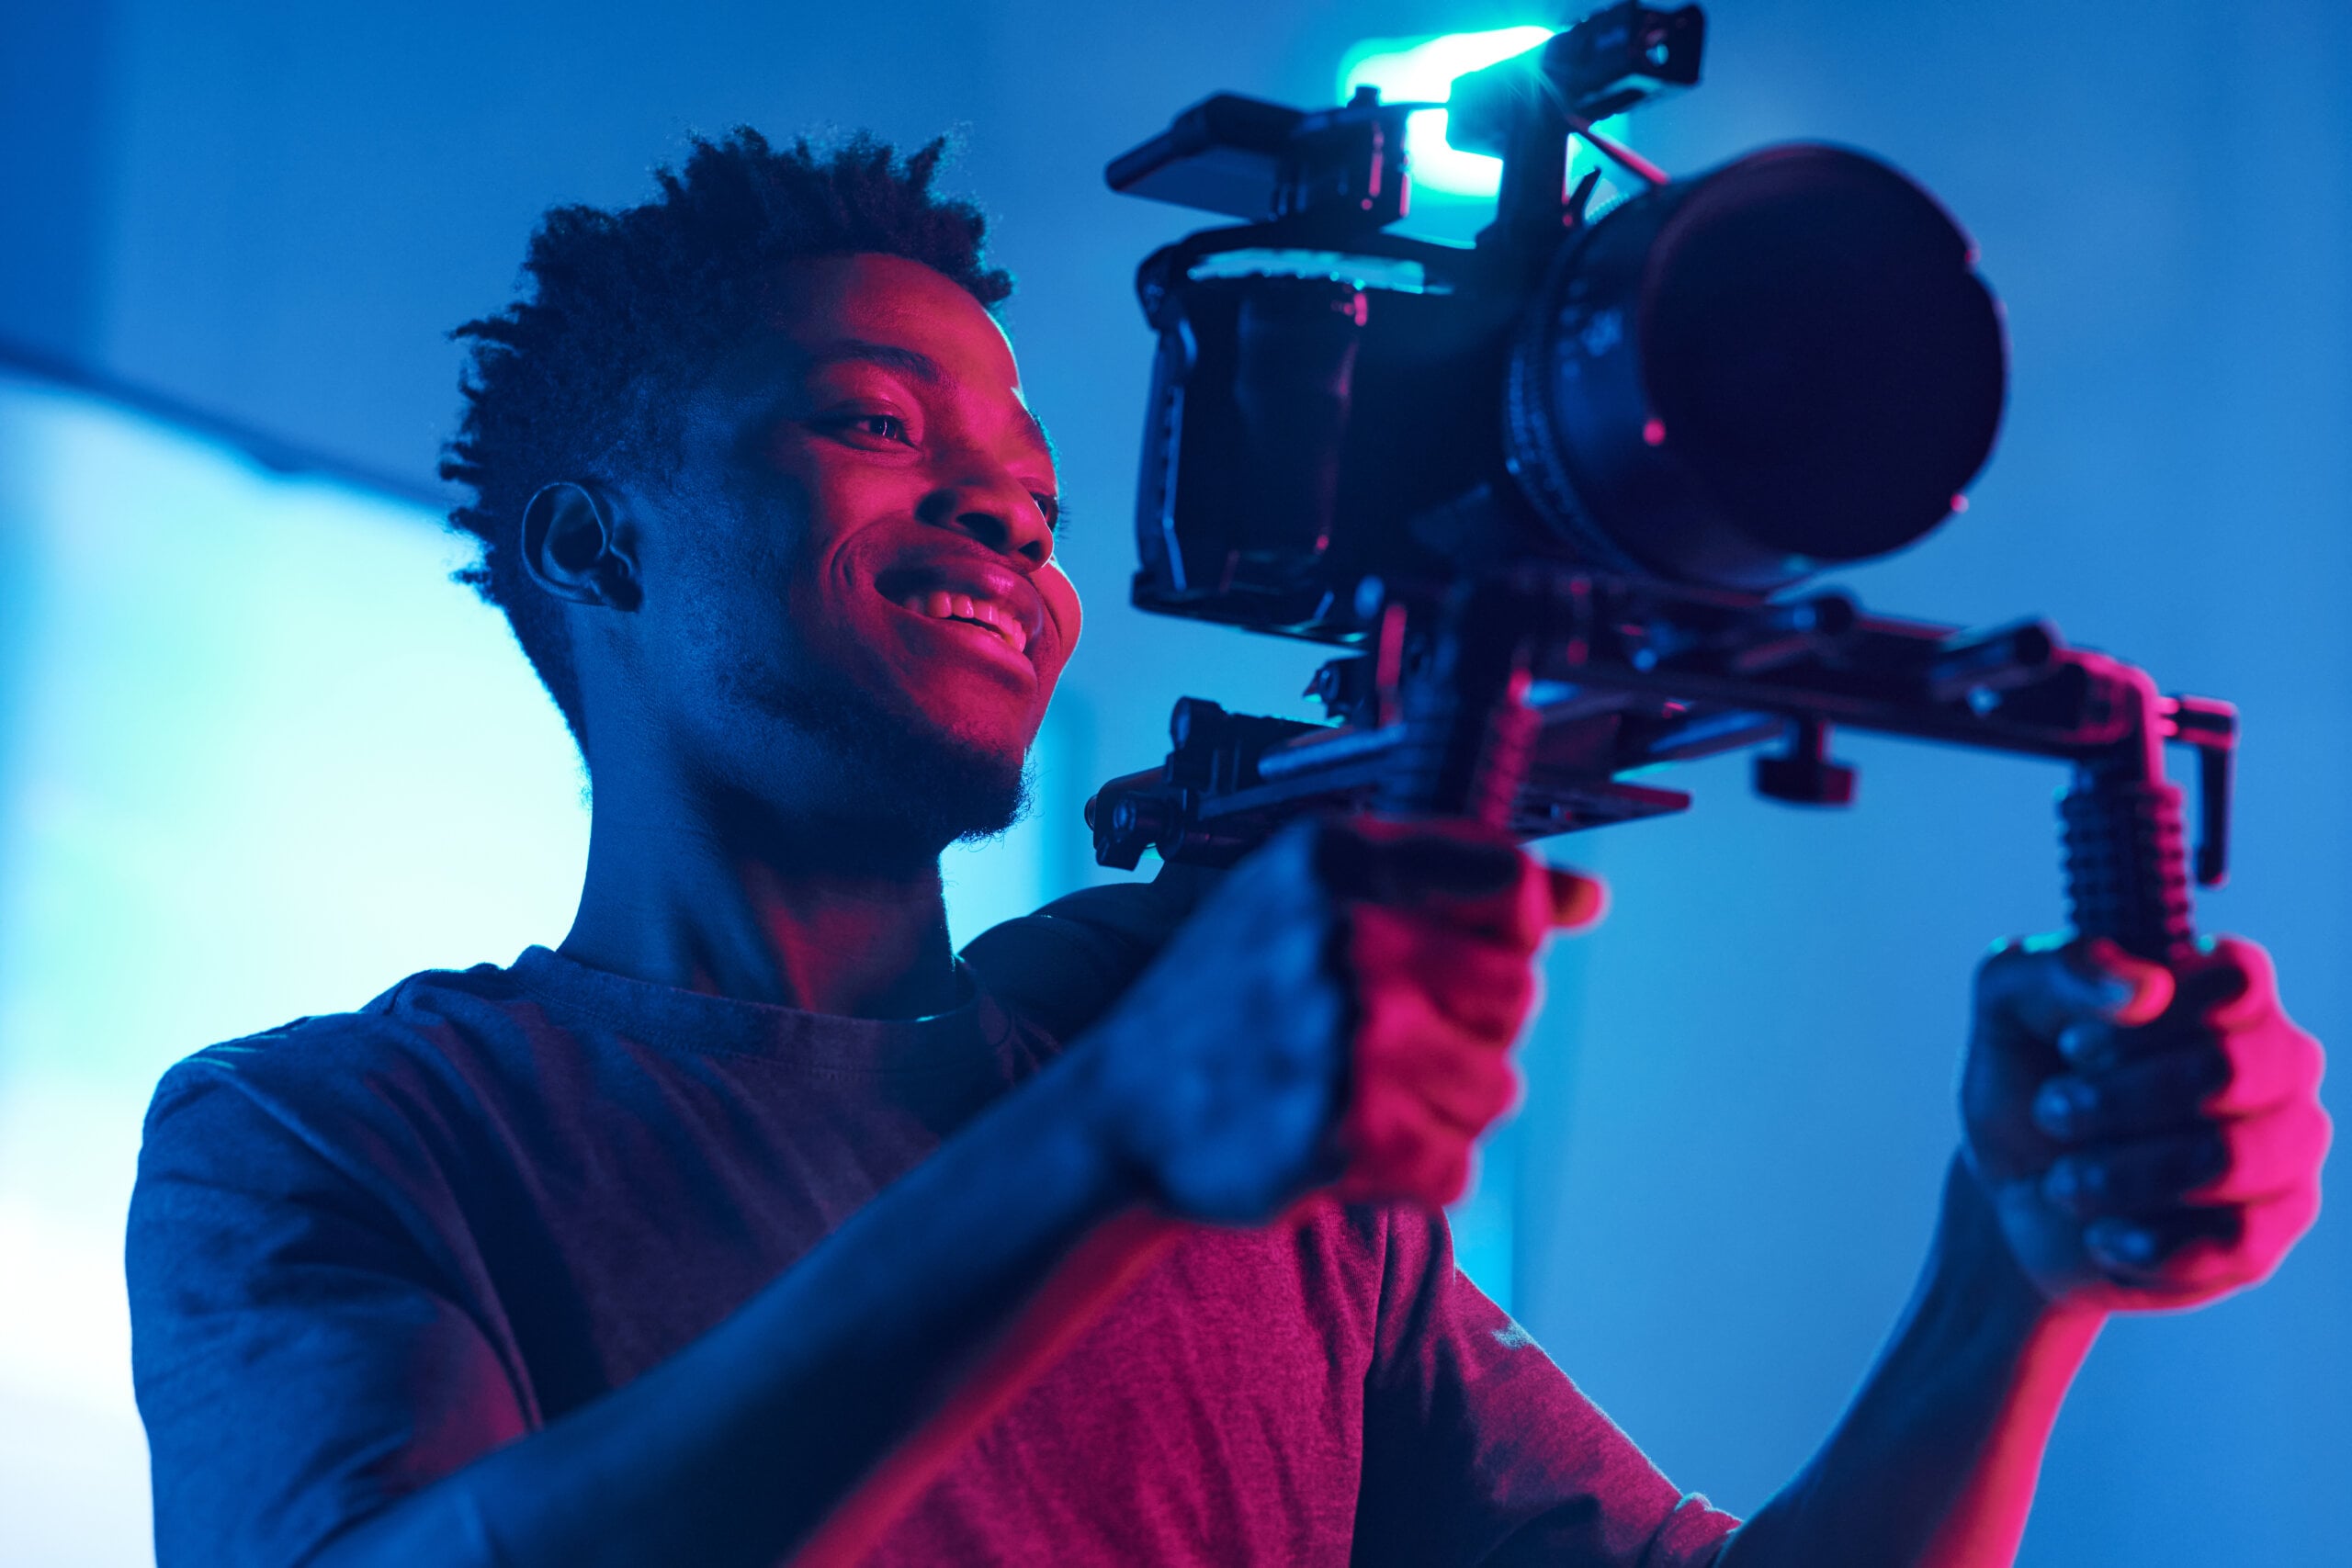
Invest in the right equipment
As a freelance photographer, you know the equipment matters. However, you don’t need a fancy camera to take excellent photos of homes and buildings. Since you won’t be photographing subjects in motion, you won’t need advanced features like autofocus. Whether your jam is film or digital, all you need is a camera with the following two features:1
- Flash – You may need extra light to photograph interiors.
- Bracketing or auto-bracketing abilities – When photographing large vistas like landscapes and real estate, a photo with only one exposure may look washed out, or dark and muddy. Be sure you can manually adjust your exposure settings, or make life easier with auto-bracketing. This way, you can capture different levels of light and even compile several frames to arrive at the perfect picture.
In addition, you’ll need:
- A tripod so you can hold your camera in position
- A wide-angle zoom lens to capture exterior shots
As you build up your skills, you may also need to get familiar with interior lighting solutions like umbrellas and softboxes. However, if you aren’t ready to invest money or learn a new skill just yet, you can begin assembling your portfolio with exterior shots alone.
If you already have a drone (or are considering buying one), drone photography can be another way to add to your real estate photography portfolio. Drones enable great aerial shots, thus real estate photography is one of the most popular ways for drone photographers to make money.
Become a master editor
Being a great photographer isn’t always enough.
You’ve seen real estate photography. In fact, you may even remember the ad that led you to your current apartment or home. Every room was filled with sunlight. The sky poking through the windows was an ethereal blue. The grass was bright green, and the wooden floors practically gleamed.
Is that what your home actually looks like on an average Tuesday?
Real estate photography shouldn’t misrepresent its subject, but it should enable potential buyers to see each and every room in its best light. If you’re shooting at the golden hour, though, that might leave the kitchen looking lovely while the master bedroom is just plain dim.
That’s why you need editing software.
Get familiar with the following programs (or the likes of):
- Adobe Lightroom or Photoshop
- Photomatix Pro
Learning to edit your bracketed images and make other tweaks to lighting can help make your real estate photos shine.
Build your portfolio
Once you have the right gear, it’s time to start snapping for your portfolio.
Your first thought might be to take a walk in an upscale neighborhood and take some shots of beautiful homes. However, before you do this, it’s important to take your first foray into the world of photography law. When it comes to photographing people and property that is easy to see from a public vantage point, photographers are usually in the clear.
But there are a few exceptions.
- The photo must be from a public vantage point. If you’re standing on private property, you’re trespassing.
- Using someone’s likeness for commercial purposes can lead to a lawsuit. A publicly viewable home might be okay—unless you violate the owner’s right to privacy by displaying their name, address, or other identifying information in your photo.
To be safe, consider photographing a friend or family member’s home. Alternatively, contact a realty office or even a small local business to offer your services for free. When you have a volunteer or client, be sure the property owner signs a photography release form giving you permission to publish the photograph.
Once you’ve taken some gorgeous shots, take the following steps:
- Set up a photography website with a portfolio.
- Create a social media account to share your images.
- Advertise your rates.
- Start making connections with potential clients.
As your business grows, add to and update your portfolio (always making sure you have permission to use the photograph for commercial purposes).
Insure your photography business
As you can see, it’s possible that your photography could—in some cases—lead to lawsuits. Whether you’ve accidentally violated someone’s right to privacy, or failed to get a proper photo release form, there is the possibility your new career choice could lead to litigation.
As a photographer, consider the following kinds of insurance:
- General liability insurance to provide coverage for client and third-party claims of personal injury, advertising injury, bodily injury, and property damage related to your work.
- Professional liability insurance to provide coverage for claims or errors and omissions related to your photography services.
As a small business owner, a costly insurance claim could set you back far more than your next piece of gear. In fact, it could shutter your business before things have really begun to click.
And if you’re just getting started as a photographer, you may want to take out insurance for just a few hours during your first photo shoot. Thimble makes that possible: with our on-demand insurance for photographers, choose from hourly, daily, or monthly policies.
Getting Photographer Insurance with Thimble takes less than 60 seconds. Click “Get a Quote” or download the Thimble app, enter a few details about your business and your desired coverage length, and view your instant quote. Click to purchase, and you’ll receive a Certificate of Insurance right away.
Source: